
Got the halves together and epoxy coated the interior.

Got the ends taped and the center spreaders installed.

Getting ready to attach the bottom.

Bottom is attached.
I captured the following process to show how the seams are done and how the fiberglass almost disappears when the epoxy is added:

Inside seam before. (Only duck tape on outside of seam)

Inside seam after fillet. (For the fillet, I use wood flour to thicken the epoxy to the consistency of peanut butter.)

Inside seam with fiberglass over fillet.

Inside seam with fiberglass wetted out with epoxy.
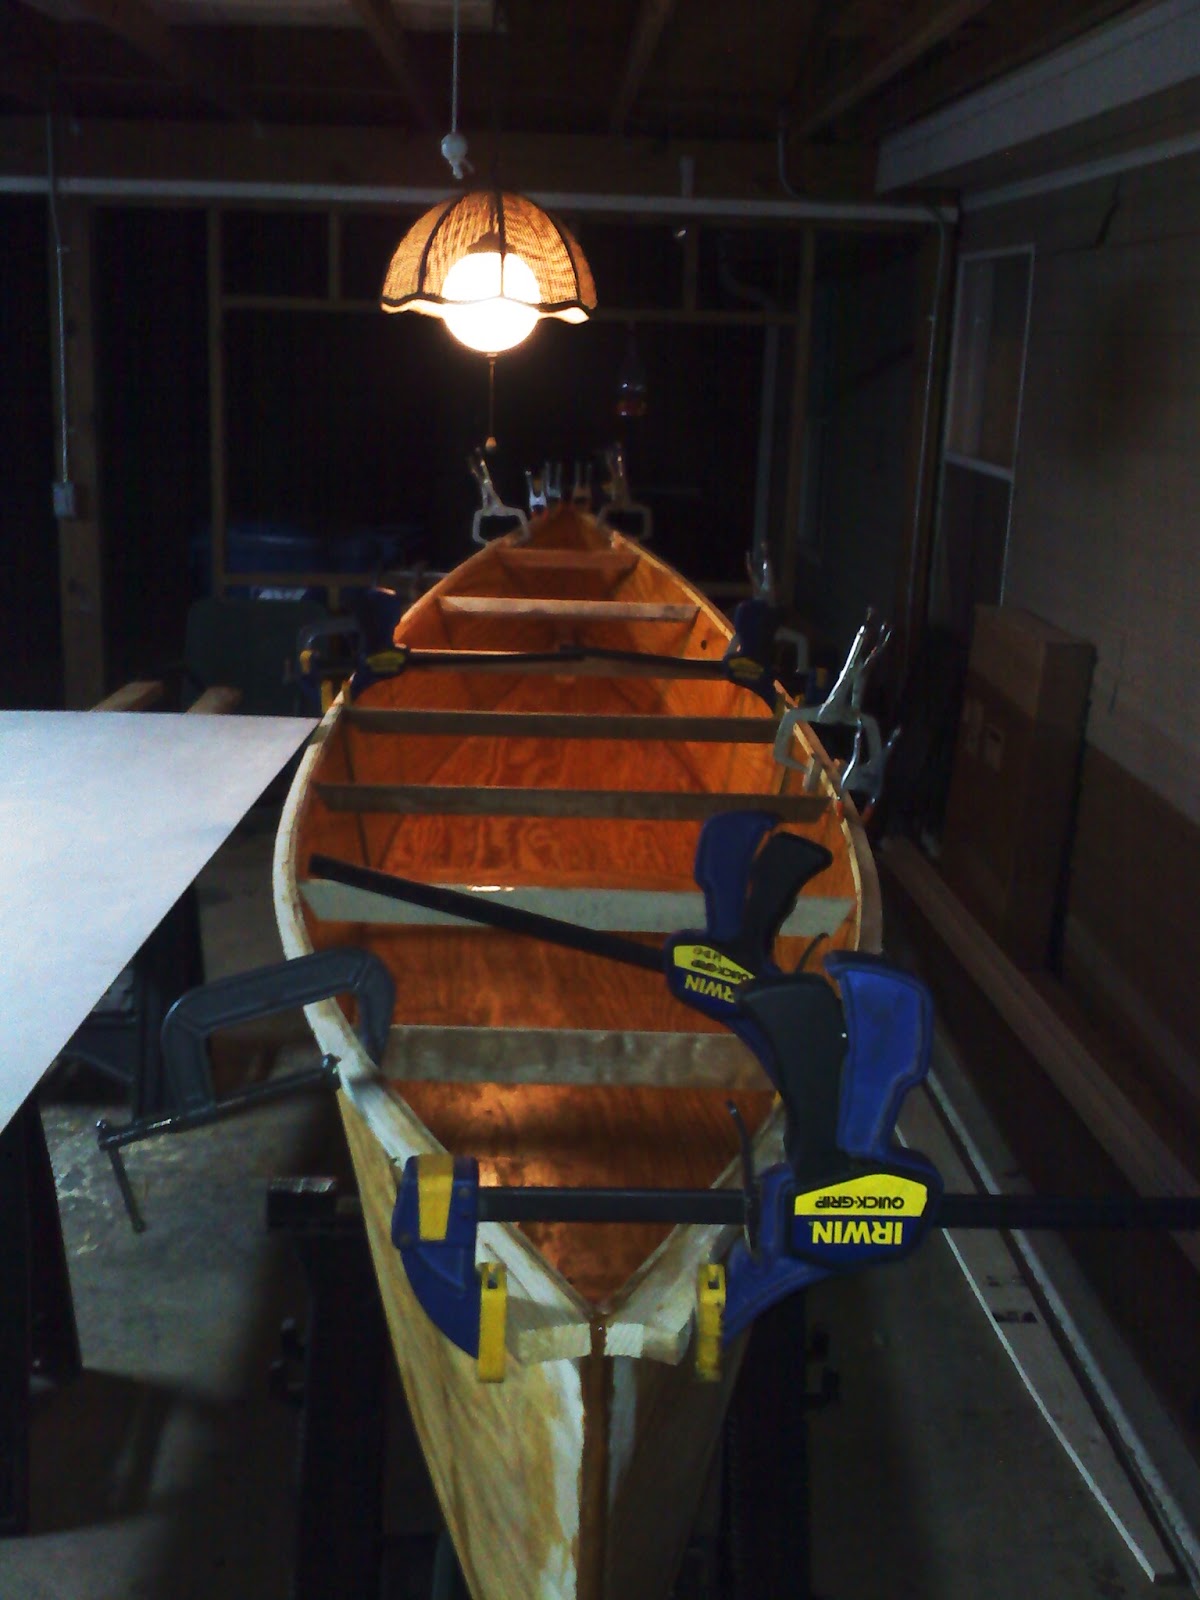
Attaching exterior gunwales.

Attached keel.

Rounded and filleted keel.

Canoe hauler for my truck.

Fiberglassing the bottom.

Attaching inwales.

Seats fitted.

Gluing in dry box. (Firewood is just to keep the bottom from moving while I fillet / glue the back side.)
This is where I am now. I have just glued in the seat brackets and dry box. Next I will be able to glue in the front and rear decks and finish up the fillet around the dry box. After that I will apply the graphite epoxy coating to the bottom of the boat. The graphite coating is suppose to help lubricate the bottom when sliding over obstructions and also shows you how much wear there is on the bottom. Once you wear off the graphite, you know its time touch it up a little. The last step of the process will be sanding and adding the logos and finishing coats of epoxy and varnish. Here is a picture I photoshoped to get an idea of what I want the logos to look like when its done:

No comments:
Post a Comment